Knitting Tips/techniques
Knitting I-cord
Using short double-pointed (DP) needles, cast on a small number of stitches, around 3 to 6.
Knit all the stitches. Switch needles in your hands, so the needle with the stitches is in your left hand again. Slide the stitches to the other end of the needle and pulling the yarn across the back of the stitches knit the row again. Continue this way, sliding and knitting, until the cord is the length you wish.
Give the cord a tug to make the little carry across the back disappear, though there shouldn’t be much of a carry if you’re only knitting on 3 or 4 stitches.
Attaching To The Edge Of A Finished Project As The I-Cord Is Knit :
Knit across the I-cord to the last stitch, then knit the last stitch together with the first stitch of your project (sweater, jacket…). Pull the yarn across the back of the cord and slide the stitches to the other side of the DP needle as described above.
——————————————————————————–
Determining gauge
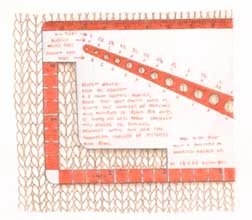
 Knitting gauge—the number of stitches and rows per inch—determines the size of the garment you are making. Every knitting pattern states the gauge, or “tension,” on which the sizing is based. For successful results, it is essential to test your knitting against this measurement before you start a project. Make a test swatch at least 4″/10cm square, using the yarn and needle size called for in the pattern. Then measure your swatch using a ruler or knit gauge tool. If the number of stitches and rows do not match the pattern’s gauge, you must change your needle size. An easy rule to follow is: TO GET FEWER STITCHES TO THE INCH/CM, USE A LARGER NEEDLE; TO GET MORE STITCHES TO THE INCH/CM, USE A SMALLER NEEDLE. Try different needle sizes until you get the proper gauge.
